How to Clean a Golf Cart Battery: Expert Tips and Tricks
Cleaning a golf cart battery is essential for its longevity. A clean battery ensures better performance and safety.
Golf carts are fun and practical, but their batteries need regular care. Over time, dirt and corrosion can affect the battery’s efficiency. If left unchecked, this can shorten the battery life and even cause damage. A clean battery works better and lasts longer.
Taking a little time to clean it can save you from costly repairs and replacements. In this guide, you will learn simple steps to clean your golf cart battery. This will help you keep your cart running smoothly and safely. Ready to get started? Let’s dive in!
Safety Precautions
Cleaning a golf cart battery can be tricky. Safety should always come first. Before you start, it’s crucial to follow some important safety precautions. This will help protect you from any potential harm and keep the battery in good condition.
Necessary Safety Gear
Always wear proper safety gear. This includes gloves and safety goggles. Gloves protect your hands from harmful substances. Safety goggles shield your eyes from splashes.
Consider wearing a long-sleeve shirt. It will protect your skin from potential spills. A good pair of non-slip shoes is also essential. They will prevent slips and falls in case of leaks.
Handling Battery Acid
Battery acid can be dangerous. Always handle it with care. Never touch it with bare hands. If it spills, clean it immediately. Use baking soda to neutralize the acid.
Ensure the area is well-ventilated. Fumes from the battery can be harmful. Keep any open flames or sparks away. Battery acid is highly flammable. Always keep a fire extinguisher nearby.
Dispose of any waste properly. Battery acid and other materials can harm the environment. Follow local disposal guidelines. Safety and proper handling are crucial for maintaining your golf cart battery.
Credit: golfcartresource.com
Tools And Materials
Cleaning your golf cart battery is essential for its longevity. Proper tools and materials ensure safety and efficiency. Let’s explore the essential cleaning tools and recommended cleaning solutions.
Essential Cleaning Tools
Gather the right tools to clean your golf cart battery. Here are some must-haves:
- Safety gloves: Protect your hands from harmful chemicals.
- Safety goggles: Prevent splashes from reaching your eyes.
- Wire brush: Remove corrosion and dirt effectively.
- Wrench set: Loosen and tighten battery connections.
- Battery terminal cleaner: Ensure clean connections for optimal performance.
- Clean rags: Wipe off grime and moisture.
Recommended Cleaning Solutions
Using the right cleaning solutions helps maintain battery health. Here are some recommendations:
- Baking soda solution: Mix baking soda with water to neutralize acid.
- Battery cleaner spray: Designed for battery terminals and connections.
- Distilled water: Clean and refill the battery cells.
These tools and solutions make cleaning your golf cart battery simple and effective. Stay safe and keep your battery in top shape.
Preparing The Golf Cart
To clean your golf cart battery, you must first prepare the cart. Proper preparation ensures safety and efficiency. Follow these simple steps to get started.
Turning Off The Cart
First, turn off the golf cart. This is crucial for safety. Locate the key and switch it off. Remove the key from the ignition. This prevents accidental starts. Always prioritize safety.
Locating The Battery
Next, find the battery. Usually, the battery is under the seat. Lift the seat to access the battery compartment. Check your cart’s manual if unsure. Knowing the battery’s location is important for cleaning.
Cleaning The Battery Terminals
Cleaning the battery terminals of your golf cart is crucial. It helps maintain good battery health. Dirty terminals can cause poor connections. This may lead to performance issues. Let’s break down the steps to clean your battery terminals.
Removing Corrosion
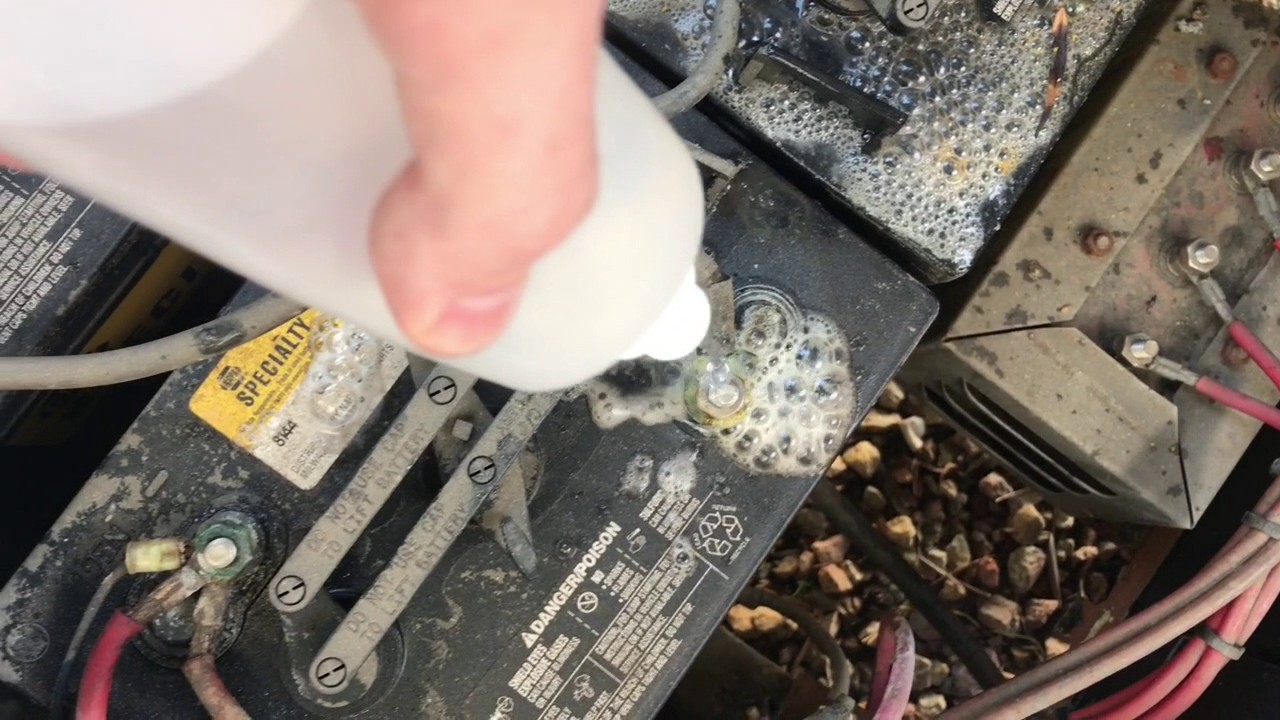
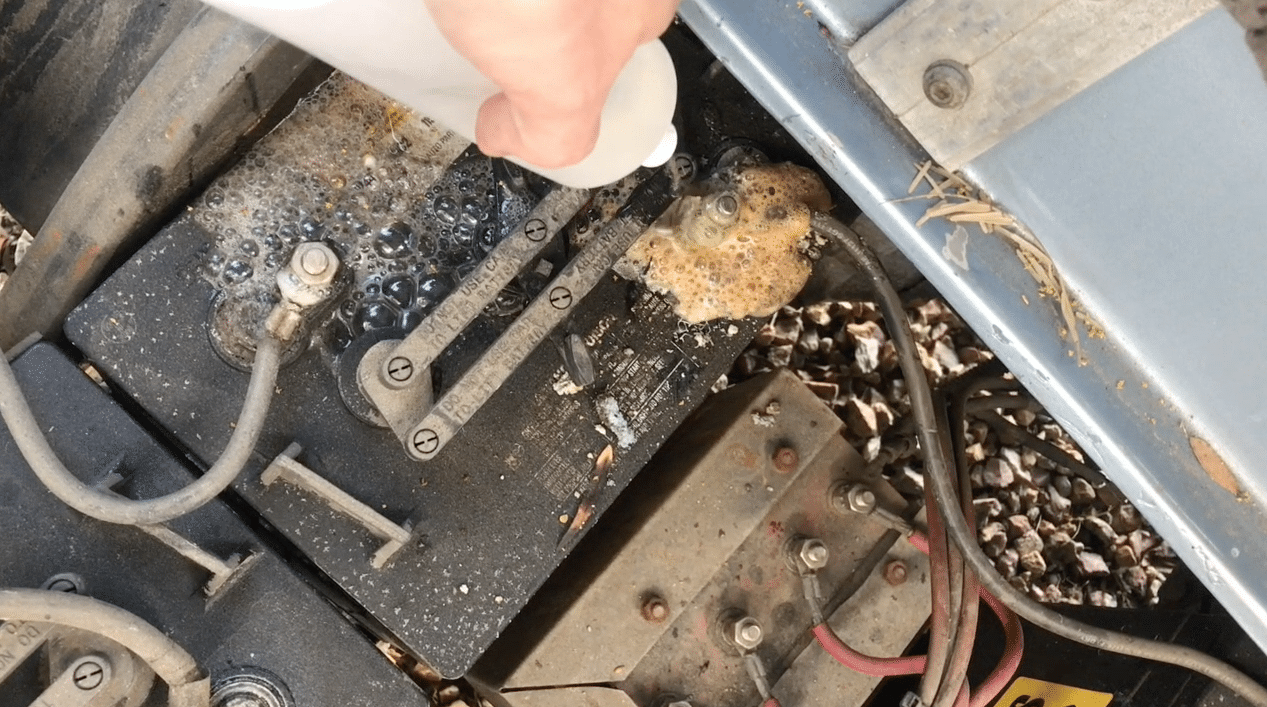
First, gather your materials. You will need a wire brush, baking soda, and water. Make sure the golf cart is off. Remove the battery cables. Always start with the negative cable. This is for safety reasons. Mix baking soda with water. Use one tablespoon of baking soda per cup of water. Apply the mixture to the terminals. Let it sit for a few minutes. This will help loosen the corrosion. Use the wire brush to scrub the terminals. Be thorough. Wipe the terminals clean with a rag. Ensure they are dry before proceeding.
Applying Protective Coating
Once the terminals are clean and dry, apply a protective coating. This helps prevent future corrosion. You can use petroleum jelly or a commercial terminal protector. Apply a small amount to each terminal. Reattach the battery cables. Start with the positive cable this time. Tighten the connections securely. Regular maintenance will keep your golf cart running smoothly. Clean terminals ensure a strong and stable electrical connection. This is key for optimal battery performance.
Cleaning Battery Casing
Keeping your golf cart battery clean is crucial for its performance. Dirt and grime can affect the battery’s efficiency and lifespan. Regular cleaning of the battery casing can prevent these issues. Here, we will discuss how to wipe down the exterior and inspect for damage.
Wiping Down The Exterior
Start by gathering your cleaning supplies. You will need a soft cloth, a brush, and a solution of baking soda and water. Mix 1 cup of baking soda with 1 gallon of water. This solution helps neutralize any acid residue.
- Turn off the golf cart and disconnect the battery.
- Dip the soft cloth in the baking soda solution.
- Gently wipe down the exterior of the battery casing.
- Use a brush to clean any stubborn dirt.
- Rinse the cloth with clean water and wipe the casing again.
Ensure the battery is dry before reconnecting it.
Inspecting For Damage
After cleaning the battery casing, inspect it for any signs of damage. Look for cracks, leaks, or corrosion. These issues can affect the battery’s performance.
- Check for any visible cracks on the casing.
- Look for any leakage around the battery terminals.
- Inspect the terminals for corrosion.
If you find any damage, consider replacing the battery. A damaged battery can be dangerous and reduce the efficiency of your golf cart.
Reassembling And Testing
Once you have cleaned the golf cart battery, it’s time to reassemble and test it. This step is crucial to ensure your cart runs smoothly. Follow the steps below to properly reconnect and test your battery.
Reconnecting The Battery
Begin by placing the battery back into its compartment. Ensure it sits firmly in place. Next, reconnect the cables to the battery terminals. Attach the positive cable first. Then, connect the negative cable. Tighten the connections using a wrench. Make sure the connections are secure. Loose connections can lead to poor performance. Finally, check all connections one more time.
Testing Battery Function
Turn on the golf cart to test the battery. Listen for any unusual sounds. Check the dashboard for any warning lights. Drive the cart a short distance. Notice any signs of sluggish performance. If the cart runs smoothly, your battery is functioning well. If not, recheck your connections. You might need to repeat the cleaning process. Consistent maintenance will keep your battery in top shape.
Maintenance Tips
Maintaining your golf cart battery is essential for its longevity. Regular upkeep ensures that your battery remains in good condition. Below are some maintenance tips to help you keep your battery clean and efficient.
Regular Cleaning Schedule
Establish a regular cleaning schedule for your golf cart battery. Clean the battery terminals every month. Use a mixture of baking soda and water. This helps remove any corrosion. Rinse with clean water and dry with a cloth. Regular cleaning prevents buildup that can damage your battery.
Signs Of Battery Wear
Watch for signs of battery wear to catch issues early. Check for cracks or leaks on the battery case. Look for any bulging or swelling. Notice if the battery is losing charge quickly. These are signs that your battery may need replacement. Keeping an eye on these signs helps you maintain your golf cart efficiently.
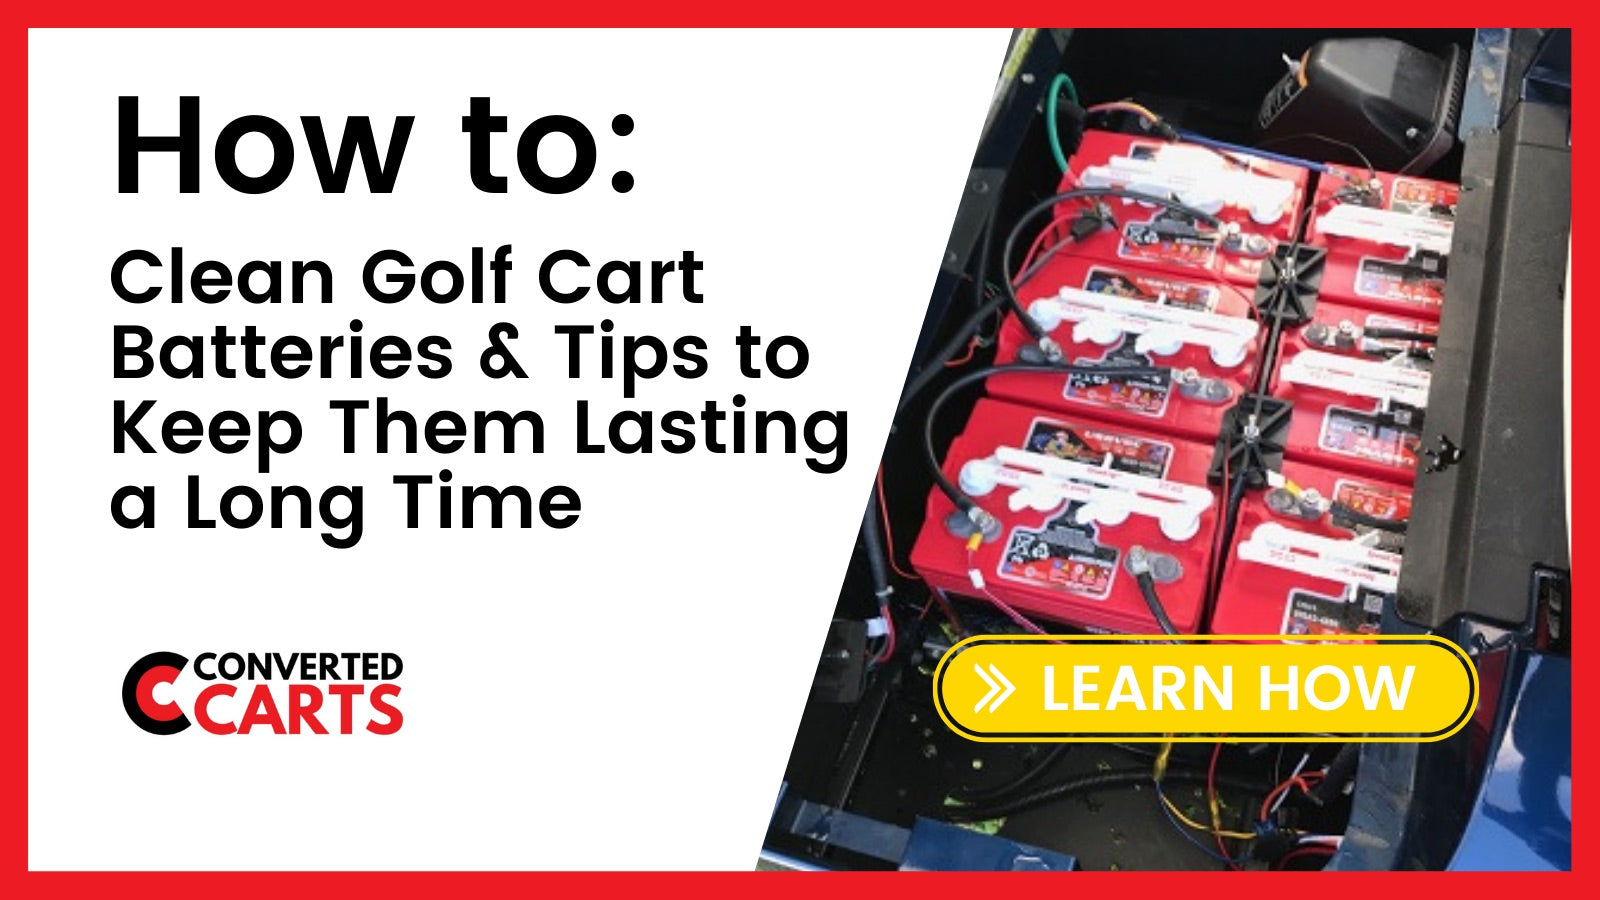
Credit: www.convertedcarts.com

Credit: www.youtube.com
Frequently Asked Questions
How Often Should I Clean My Golf Cart Battery?
You should clean your golf cart battery every month. Regular cleaning prevents corrosion and extends battery life. Always check for dirt and residue buildup. Proper maintenance ensures optimal performance.
What Tools Do I Need To Clean A Golf Cart Battery?
To clean a golf cart battery, you’ll need baking soda, water, a brush, gloves, and a wrench. These tools help you remove corrosion and maintain battery health.
Can I Use Water To Clean My Golf Cart Battery?
Yes, you can use water mixed with baking soda. This solution neutralizes battery acid. Rinse thoroughly with clean water afterward to remove any residue.
What Safety Precautions Should I Take?
Always wear gloves and eye protection when cleaning your battery. Work in a well-ventilated area. Avoid contact with battery acid, and always disconnect the battery before cleaning.
Conclusion
Regular cleaning keeps your golf cart battery healthy. Remove dirt and corrosion. Use a mix of water and baking soda. Scrub gently with a brush. Rinse well and dry. Check connections for tightness. Clean batteries last longer. They perform better too.
Maintain your battery often. Enjoy smoother rides and fewer problems. Happy golfing!